ATH Bridge: Bridging Any Smart Home Devices to Apple HomeKit

Smart home technology is growing fast. More and more people want an easy way to control all their devices in one place. Apple HomeKit is a popular choice for this. But not every device works with HomeKit right away. That’s where the ATH Bridge comes in. It helps you connect devices that aren’t made for HomeKit, so you can control everything from one app.
What is ATH Bridge?
Add To HomeKit Bridge is a small yet powerful device designed to bridge the compatibility gap between your non-HomeKit-compatible smart home devices and Apple HomeKit. In essence, it acts as a translator, enabling seamless communication between devices that may not naturally interact with HomeKit.
This version is a more affordable option and serves as an excellent choice for users with a wide range of non-HomeKit devices. It allows for the integration of numerous smart home brands and gadgets, such as Nest, Ring, Lifx, TP-Link Kasa, Ikea, Philips Hue, Sonos, Logitech, Arlo, Wemo, and many more....
Benefits of Using AddToHomeKit Bridge?
There are numerous benefits to using ATH Bridges to add non-HomeKit devices to your Apple HomeKit ecosystem:
- Ease of Use: ATH Bridges are designed with user-friendliness in mind. They offer a straightforward setup process and are compatible with a wide range of devices, making them accessible to all users.
- Security: Security is a top priority, and ATH Bridges run locally on your network, keeping your data and devices safe from external threats. Industry-standard security protocols are employed to ensure robust protection.
- Privacy: ATH Bridges respect your privacy by not collecting any personal data about you or your devices. You can rest assured that your information remains confidential.
- Versatility: ATH Bridges open the door to a world of compatibility, allowing you to integrate a vast array of smart devices and brands into your HomeKit ecosystem.
- Affordable Integration: Achieve seamless integration of your smart devices without breaking the bank. ATH Bridges provide an economical solution to enhance your smart home experience.
How to Set Up ATH Bridge?
Follow these step-by-step instructions to set up your ATH Bridge:
Unpack the ATH Bridge
- Begin by unpacking the ATH Bridge package. Inside, you'll find the ATH Bridge server, a pre-flashed SD card, a power adaptor, a USB power cable, and an Ethernet cable.
Insert the Pre-flashed SD Card
- Take the pre-flashed SD card and insert it into the ATH Bridge server. This SD card contains essential software and configurations needed for the bridge to function correctly. Ensure it is securely inserted.
Connect to Your Router
- Using the provided Ethernet cable, connect one end to the ATH Bridge server and the other end to an available port on your home router. This wired connection ensures a stable network connection for your ATH Bridge.
Power On the ATH Bridge
- Plug the power adaptor into an electrical outlet and connect the USB power cable to the ATH Bridge server. This will power up the ATH Bridge.
Locate the IP Address
- Access your router's interface. You can usually do this by opening a web browser and entering the router's IP address. Common router IP addresses include 192.168.0.1 or 192.168.1.1. Refer to your router's manual if you're unsure.
- Look for a list of connected devices on your router's interface. This list will display the devices currently connected to your network, including the ATH Bridge.
- Note down the IP address assigned to the ATH Bridge. It will look something like "192.168.x.x."
Access the Ath Bridge Interface
- Open your web browser and enter the IP address of the ATH Bridge, followed by port 8581. For example, if the IP address is 192.168.4.12, enter "http://192.168.4.12:8581" into your browser's address bar.
Log in the ATH Bridge
- You will be prompted to log in to the ATH Bridge server's interface. Use the standard login credentials, which are typically "admin" for both the username and password. If you've changed the login credentials previously, use the updated ones.
Download Required Plugins
- Once logged in, you will have access to the ATH Bridge server's interface. Here, you can select and download the necessary plugins for your specific smart home devices. These plugins are essential for enabling compatibility between your devices and HomeKit.
Configure Plugins
- After downloading the required plugins, you may need to configure them according to your preferences. This step may involve specifying device settings, assigning names, or customizing how your non-HomeKit devices interact with HomeKit.
Explore More: Adding Specific Devices to Apple HomeKit
Looking to integrate specific devices into your Apple HomeKit ecosystem? Check out our detailed guides on adding various smart home devices using ATH Bridge:
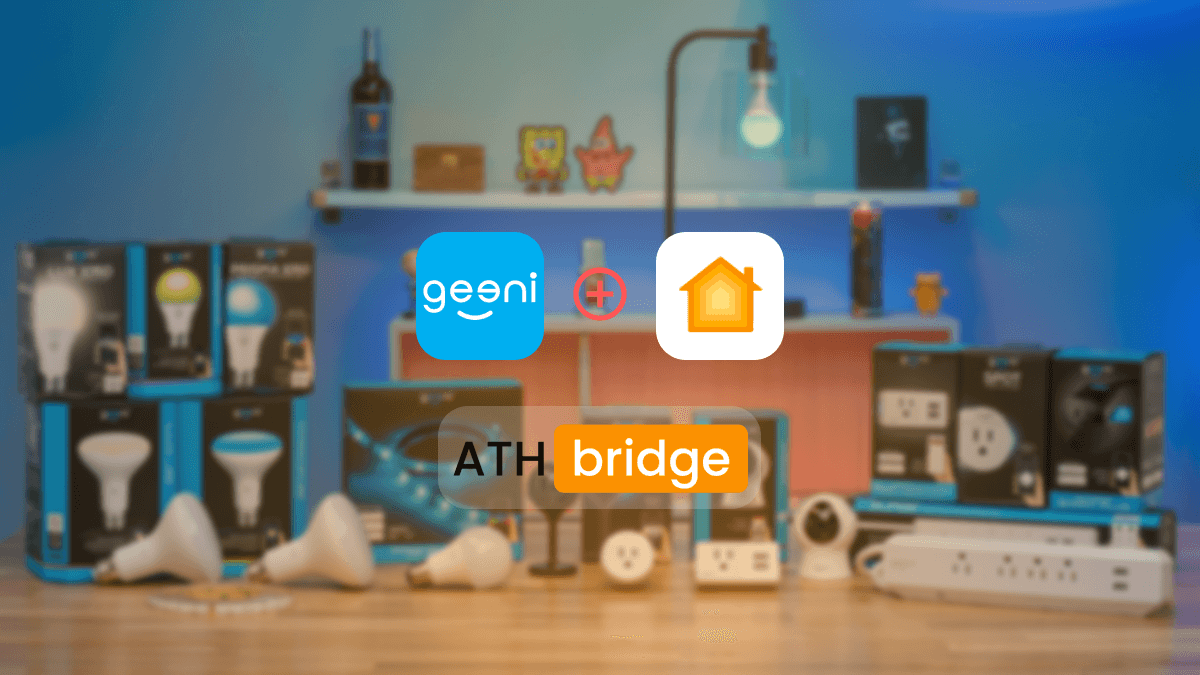
- Geeni Devices to HomeKit
- IKEA Smart Motion Sensors to HomeKit
- Govee Lights to HomeKit
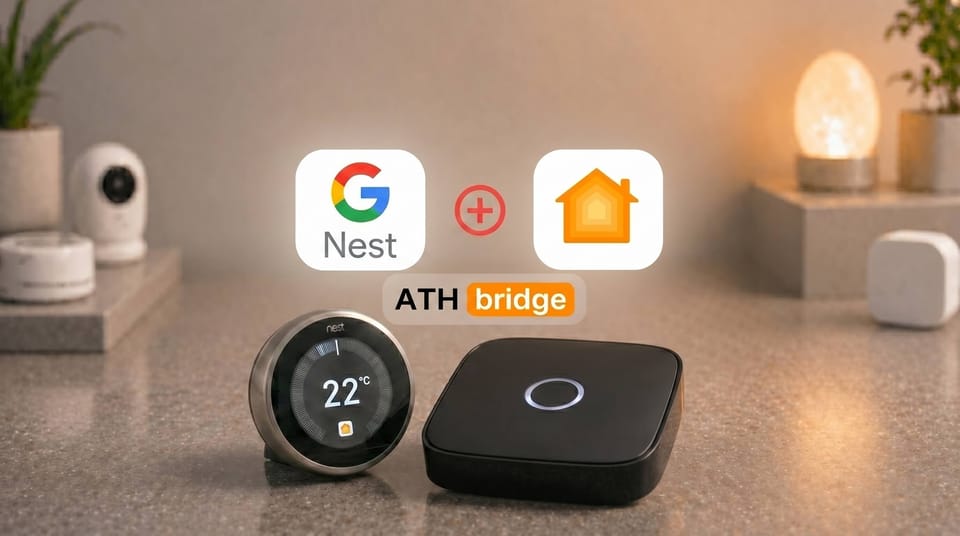
- Nest Camera to HomeKit
- Tuya ZigBee Hub to HomeKit
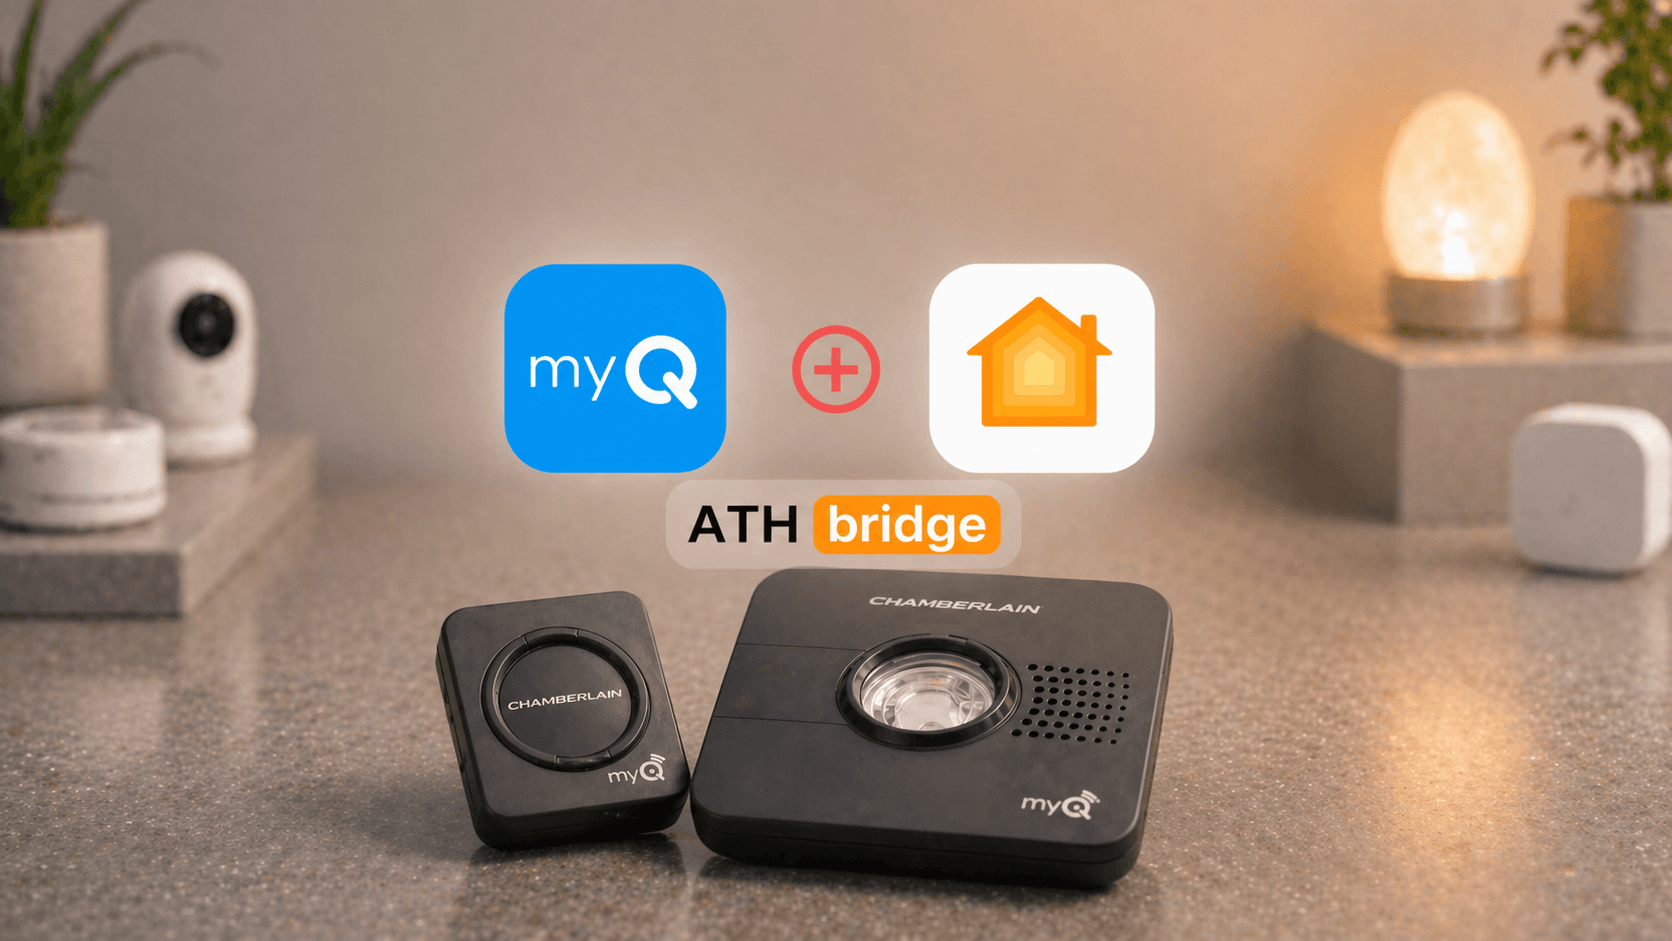
- myQ Garage Door Opener to HomeKit
- Ring Doorbell to HomeKit
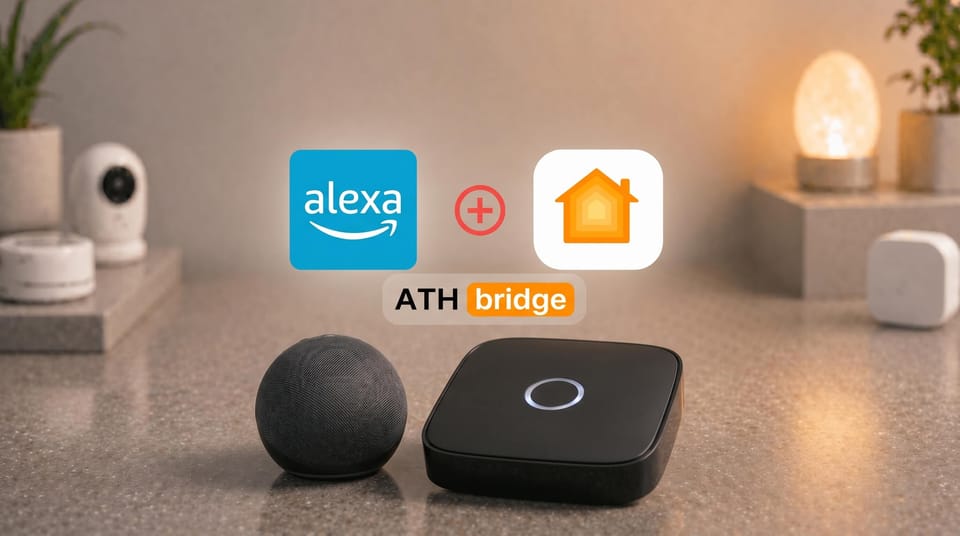
- Alexa Echo Dot to HomeKit
- Ring Security System to HomeKit
- myQ Camera to HomeKit
- Nest Thermostat to HomeKit
- iRobot Roomba to HomeKit
- Aqara to HomeKit
- Govee Lights to HomeKit
- Geeni to HomeKit
- ADT to HomeKit
- Vivint to HomeKit
- Honeywell HomeKit
Why Choose ATH Bridge?
Choosing the right Homebridge server for your smart home integration is crucial. Here are some factors to consider when deciding to opt for ATH Bridge:
- Device Compatibility: Take stock of the devices you wish to add to HomeKit. If you have Zigbee devices, the AthHomeKit HomeBridge Zigbee Server is the right choice. However, if you have non-Zigbee devices, the Add to HomeKit HomeBridge Server is a more cost-effective option.
- Budget: Consider your budget when making a decision. While both ATH Bridge variants offer excellent value, the Zigbee Server is slightly more expensive due to its extended compatibility.
- Technical Proficiency:Assess your technical skills and comfort level with the setup process. The ATH HomeKit HomeBridge Server is known for its ease of setup and may be preferable for users who are less experienced with smart home technology.
ATH Bridge offers a robust solution for users seeking to expand their HomeKit ecosystem by incorporating non-HomeKit devices. Its versatility, ease of use, and commitment to security and privacy make it a compelling choice for homeowners looking to enhance their smart home experience.
Conclusion
ATH Bridge provides an elegant solution for homeowners seeking to expand their Apple HomeKit ecosystem to include non-HomeKit devices. Its compatibility with a wide range of smart home brands and devices, coupled with its commitment to security and privacy, makes it a valuable addition to any smart home setup.
FAQs About the ATH Bridge
The ATH Bridge is a simple device that lets you connect smart home products that don’t support Apple HomeKit, so you can control them through the Apple Home app.
Yes! It’s a plug-and-play device, meaning you just plug it in and follow a few easy steps to get started.
It works with many popular non-HomeKit smart devices, but not every product is supported. Check the compatibility list to be sure your devices will work.

Sarah Diyana
3 years of experience in smart home & HomeKit I want to share knowledge with anyone struggling to add incompatible devices to HomeKit. Experienced with many workarounds, write about the best methods.