How to Add Schlage Devices to Apple HomeKit Using ATH Bridge
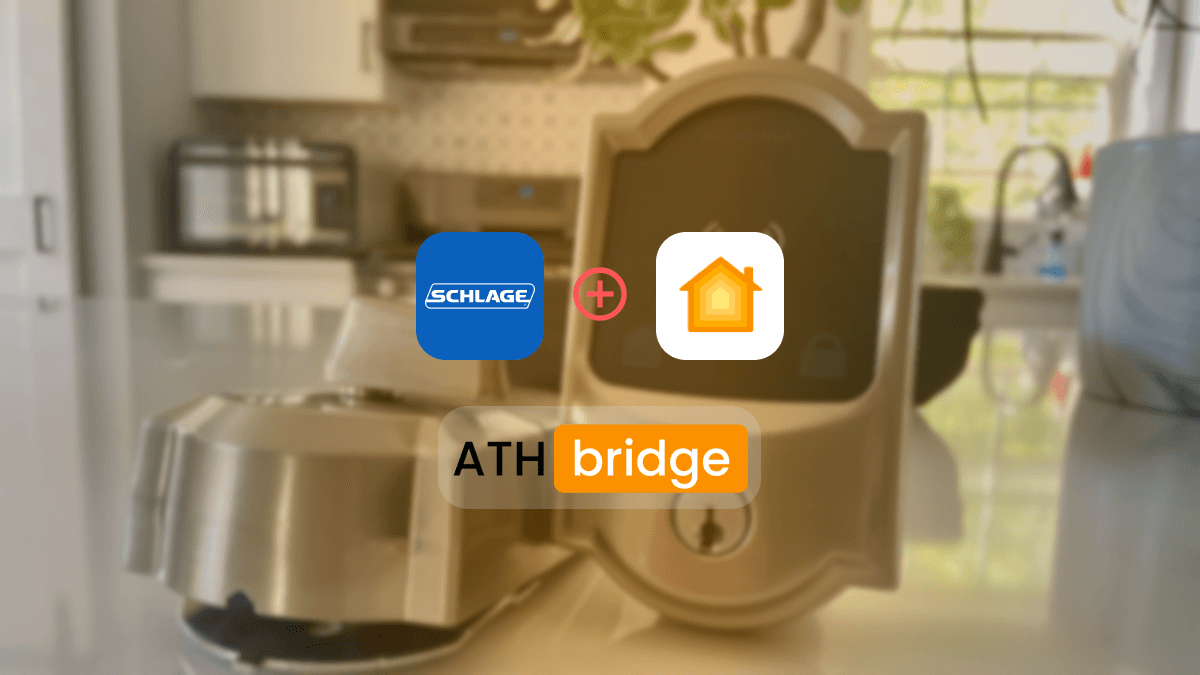
Are you looking to connect your Schlage smart lock or device to Apple HomeKit? While Schlage offers limited native HomeKit support, you can expand compatibility using the ATH Bridge. In this guide, I'll show you how to set up your Schlage HomeKit Locks using the ATH Bridge.
ATH Bridge was a lifesaver when I was searching for a budget-friendly and affordable solution. It is a simple device solution that allows me to add my Schlage smart devices to HomeKit. It supports a large range of products. It is an amazing method to add any device to Apple HomeKit.
You can integrate any smart device with Apple HomeKit using ATH Bridge. It is specifically compiled and pre-flashed to HomeBridge server; you just have to download the plugins and configure them, and your Schlage devices will respond to HomeKit in an instance!
Why Use the ATH Bridge for Schlage HomeKit Integration?
Most Schlage locks (Schlage Encode or Schlage Connect) work with Amazon Alexa and Google Home. But integration with HomeKit is more limited. The ATH Bridge helps you act as a bridge between my Schlage device and the Apple HomeKit ecosystem.
Key Benefits of Using the ATH Bridge:
- Enables full HomeKit support for Schlage devices
- Allows Siri voice control
- Centralized smart home automation within the Apple Home app
- Works with other Thread and Matter-compatible devices
What You Need Before Getting Started
I needed the following things to integrate into my Schlage HomeKit.
- A compatible Schlage Wi-Fi lock
- An ATH Bridge
- An iPhone or iPad with iOS 15 or later
- The Apple Home app
- Stable Wi-Fi and Bluetooth connection
Step-by-Step: How to Create Schlage Home Kit via ATH Bridge
Set Up Your Schlage Device
- Install your Schlage lock or device.
- Connect it to your home Wi-Fi.
Install and Power the ATH Bridge
- Plug in and power the ATH Bridge.
- Open the ATH Bridge app (or web interface) to initialize setup.
Link the Schlage Device in ATH Bridge
- Use the ATH Bridge interface to scan and detect your Schlage device.
- Follow on-screen prompts to pair the lock with the ATH Bridge.
- Once linked, the ATH Bridge will create a virtual HomeKit-compatible version of the device.
Add ATH Bridge to HomeKit
- Open the Apple Home app on your iPhone or iPad.
- Tap “+”> “Add Accessory”.
- Scan the HomeKit code provided with your ATH Bridge.
- Name your accessory (e.g., “Front Door Lock”) and assign it to a room.
Test and Automate
- Once connected, you can lock/unlock via Siri.
Read also, Add Any Wyze Smart Devices to HomeKit with ATH Bridge
Supported Schlage Locks for HomeKit
- Schlage Encode Plus Smart Wi-Fi Deadbolt - Natively compatible with HomeKit. Supports Apple Home Keys for tap-to-unlocking using an iPhone or Apple Watch.
- Schlage Encode Wi-Fi Deadbolt - HomeKit-compatible with similar functionality.
- Schlage Connect Smart Deadbolt - Not native HomeKit compatible. It requires a third-party bridge like ATH Bridge.
- Schlage Sense Smart Deadbolt
How to Pair my Schlage Encode Plus Smart Lock with Apple HomeKit?
Press the button on the back of your lock.
- Your lock will remain in pairing mode for 5 minutes.
Tap the top of your iPhone to the HomeKit label.
- This should prompt your phone to add the accessory to HomeKit.
Follow the directions on your phone.
If the Above Pairing Method is Unsuccessful:
Open Apple Home app
Press "+" and “Add Accessory”.
Follow directions on your phone.
Tap the top of your phone to the HomeKit label when directed.
Read also, How to Add Geeni Devices to Apple HomeKit
Final Thoughts
Connecting Schlage smart locks to Apple HomeKit isn't difficult. You can do it easily with the ATH Bridge. In my experience, Schlage devices can be seamlessly integrated with the ATH Bridge. Be sure to consider factors like cost and user-friendliness before using this solution.
FAQs About Schlage Apple HomeKit
Yes, you can integrate Schlage Apple HomeKit with third-party solutions like ATH Bridge.
Yes, Schlage Encode Plus works with iPhone and supports Apple HomeKit and Apple Home Key.
Yes, Schlage locks work with Siri (Ex: Encode Plus).
Yes, Schlage smart locks do work with Android using Schlage home app.
Amanda Jones
A digital marketer with 2+ years in IT, specializes in smart home tech and HomeKit integration. I like shares tips and to help users add incompatible devices, making smart home setups seamlessly.