How to Add Z-Wave Devices to Apple HomeKit
If you use Z-Wave devices and want to control them through Apple Home, you may notice one important limitation: most Z-Wave devices do not support Apple HomeKit directly. This is because Z-Wave and Apple HomeKit use different communication systems. To connect them, you need a compatible Z-Wave HomeKit bridge or hub that makes supported devices available in the Apple Home app.
The ATH Bridge is our recommended solution. It is a ready-to-use HomeBridge server that connects compatible Z-Wave devices to Apple HomeKit.
Most Z-Wave devices do not work with Apple HomeKit directly. You need a HomeKit Z-Wave bridge, such as the ATH Bridge, together with a compatible Z-Wave controller or hub. For beginners who already have a Z-Wave system and want a simple way to bring it into Apple Home, the ATH Bridge is our recommended option.
Can Z-Wave Devices Work with Apple HomeKit?
Yes. You can use Z-Wave devices with Apple HomeKit, but most devices need a bridge like:
Z-Wave is a wireless system made for smart home products. It creates a mesh network in which compatible devices can pass signals through one another. This can improve the network’s coverage and reliability.
Apple HomeKit does not include a built-in Z-Wave radio. Therefore, your iPhone, HomePod, or Apple TV cannot communicate directly with a standard Z-Wave accessory.
A bridge solves this problem. It connects to your Z-Wave hub or controller and makes compatible accessories visible inside Apple Home. This type of setup is sometimes described as:
- Z-Wave Apple HomeKit integration
- Apple Home Z-Wave integration
- Z-Wave hub HomeKit setup
- HomeKit Z-Wave bridge setup
Once the connection is complete, you can use the Apple Home app and Siri to control the supported devices.
What Are the Best Ways to Use Z-Wave with HomeKit?
There are several ways to connect Z-Wave devices to Apple HomeKit. The right choice depends on your current equipment, budget, and technical knowledge.
| Method | Best for | Cost | Setup difficulty | Main requirement |
|---|---|---|---|---|
| ATH Bridge | Beginners and existing Z-Wave users | One-time hardware cost | Easy | Compatible Z-Wave hub or controller |
| Thinka for Z-Wave | Users who want a dedicated Z-Wave controller | One-time hardware cost | Easy | Thinka Z-Wave hub |
| Homebridge | Technical users who want a DIY system | Software is free | Moderate | Always-on computer and Z-Wave controller |
| Home Assistant | Advanced users who want detailed control | Software is free | Hard | Dedicated hardware and Z-Wave adapter |
Method 1: ATH Bridge (Our Recommended Solution)
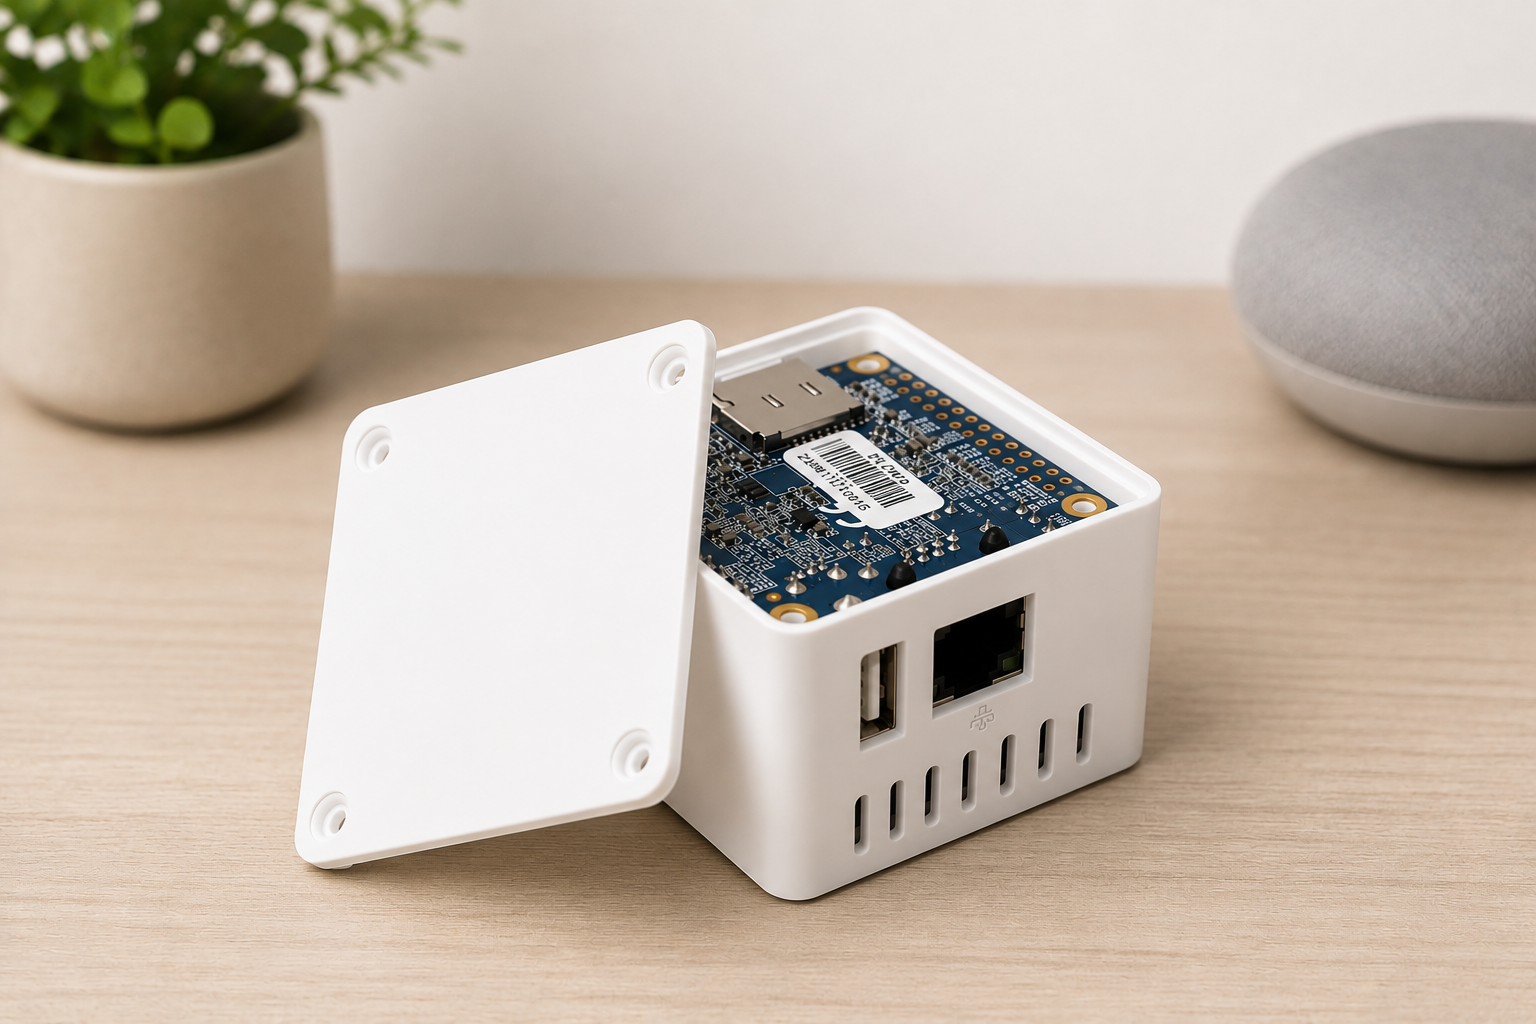
The ATH Bridge is the easiest option for users who want to connect an existing Z-Wave system to Apple HomeKit without building a HomeBridge server from the beginning.
It is a compact, pre-configured Homebridge server. The required system is already installed on the included SD card. You do not need to install an operating system or enter long terminal commands.
The ATH Bridge works as the HomeKit Z-Wave bridge between your compatible Z-Wave setup and Apple Home. You install the correct Homebridge plugin for your Z-Wave hub or controller, enter the required settings, and pair the ATH Bridge with Apple Home.
Verdict: The ATH Bridge is our recommended choice for beginners, especially if you already own a supported Z-Wave hub and want a ready-to-use HomeBridge solution.
Pros
- Homebridge software comes pre-installed
- No need to build a server from the beginning
- Simple web-based dashboard
- Supports more than 2,000 Homebridge plugins
- Works locally on your home network
- Can connect many non-HomeKit brands
- Allows control through Apple Home and Siri
- Suitable for beginners
Cons
- It is a paid hardware solution
- A separate compatible Z-Wave controller may still be required
- Compatibility depends on the available plugin and device type
Method 2: Thinka for Z-Wave
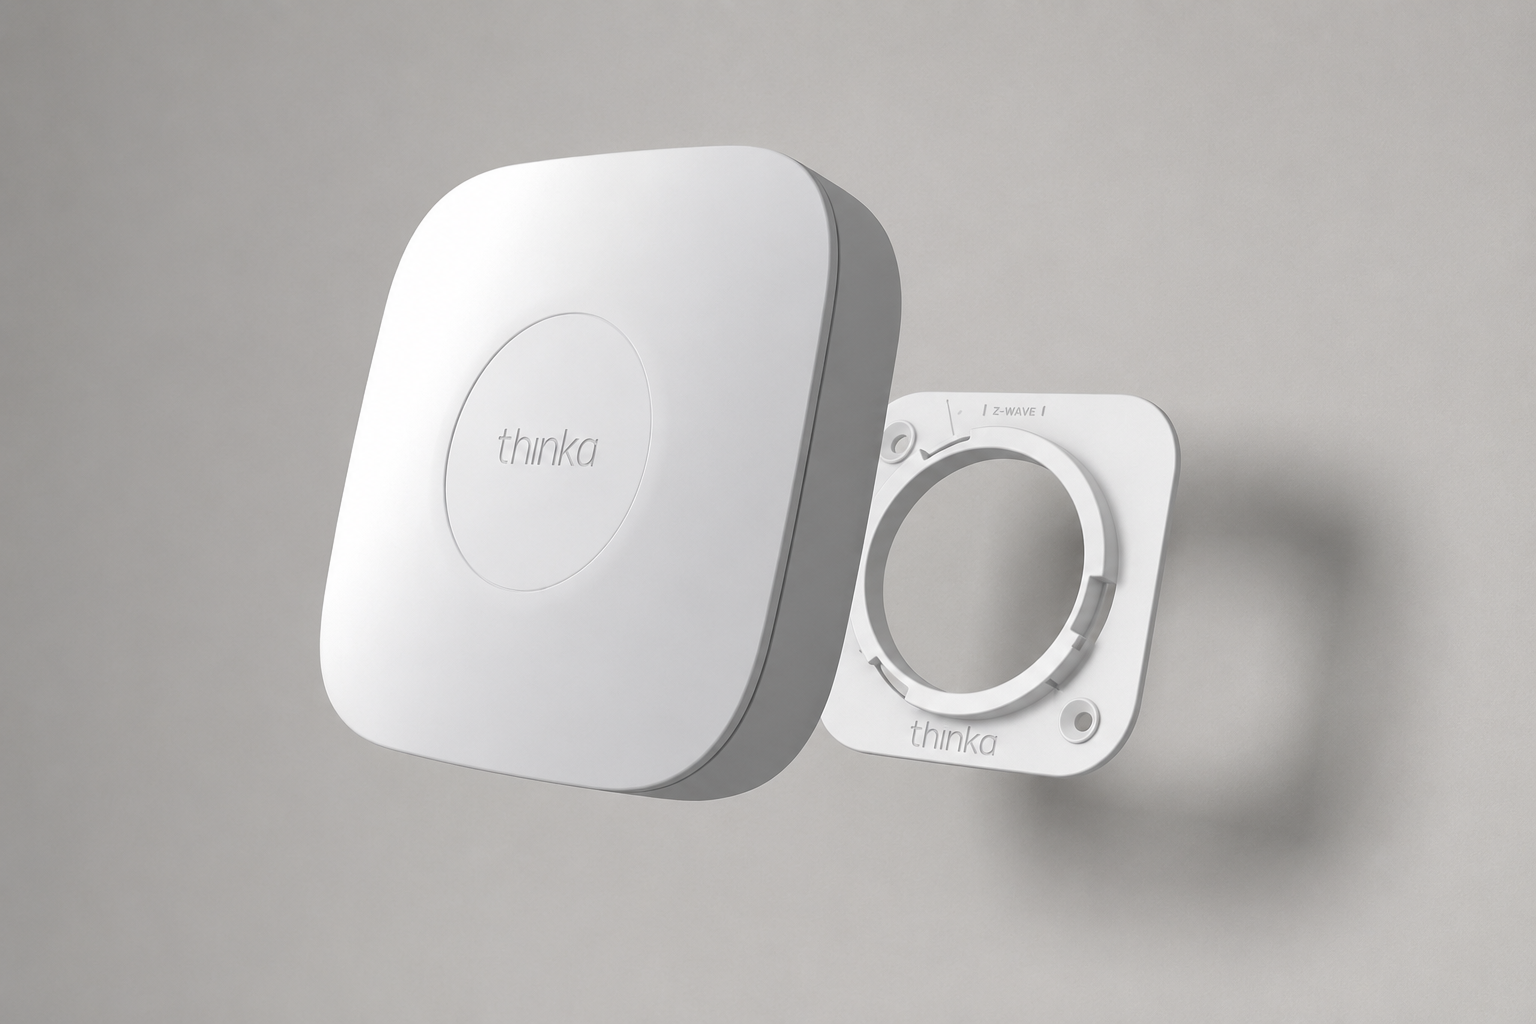
Thinka for Z-Wave
Thinka for Z-Wave is a dedicated controller designed to connect Z-Wave products with Apple HomeKit. It includes a Z-Wave Plus 700-series controller and supports features such as SmartStart, device provisioning, backup, and restore.
A Thinka Z-Wave hub can be useful if you are starting a new Z-Wave network and want a dedicated controller with Apple HomeKit support.
You may also see this product described online using terms such as Thinka Z-Wave hub, Thinka for Z-Wave, or simply Thinka Z-Wave.
Method 3: Home Assistant
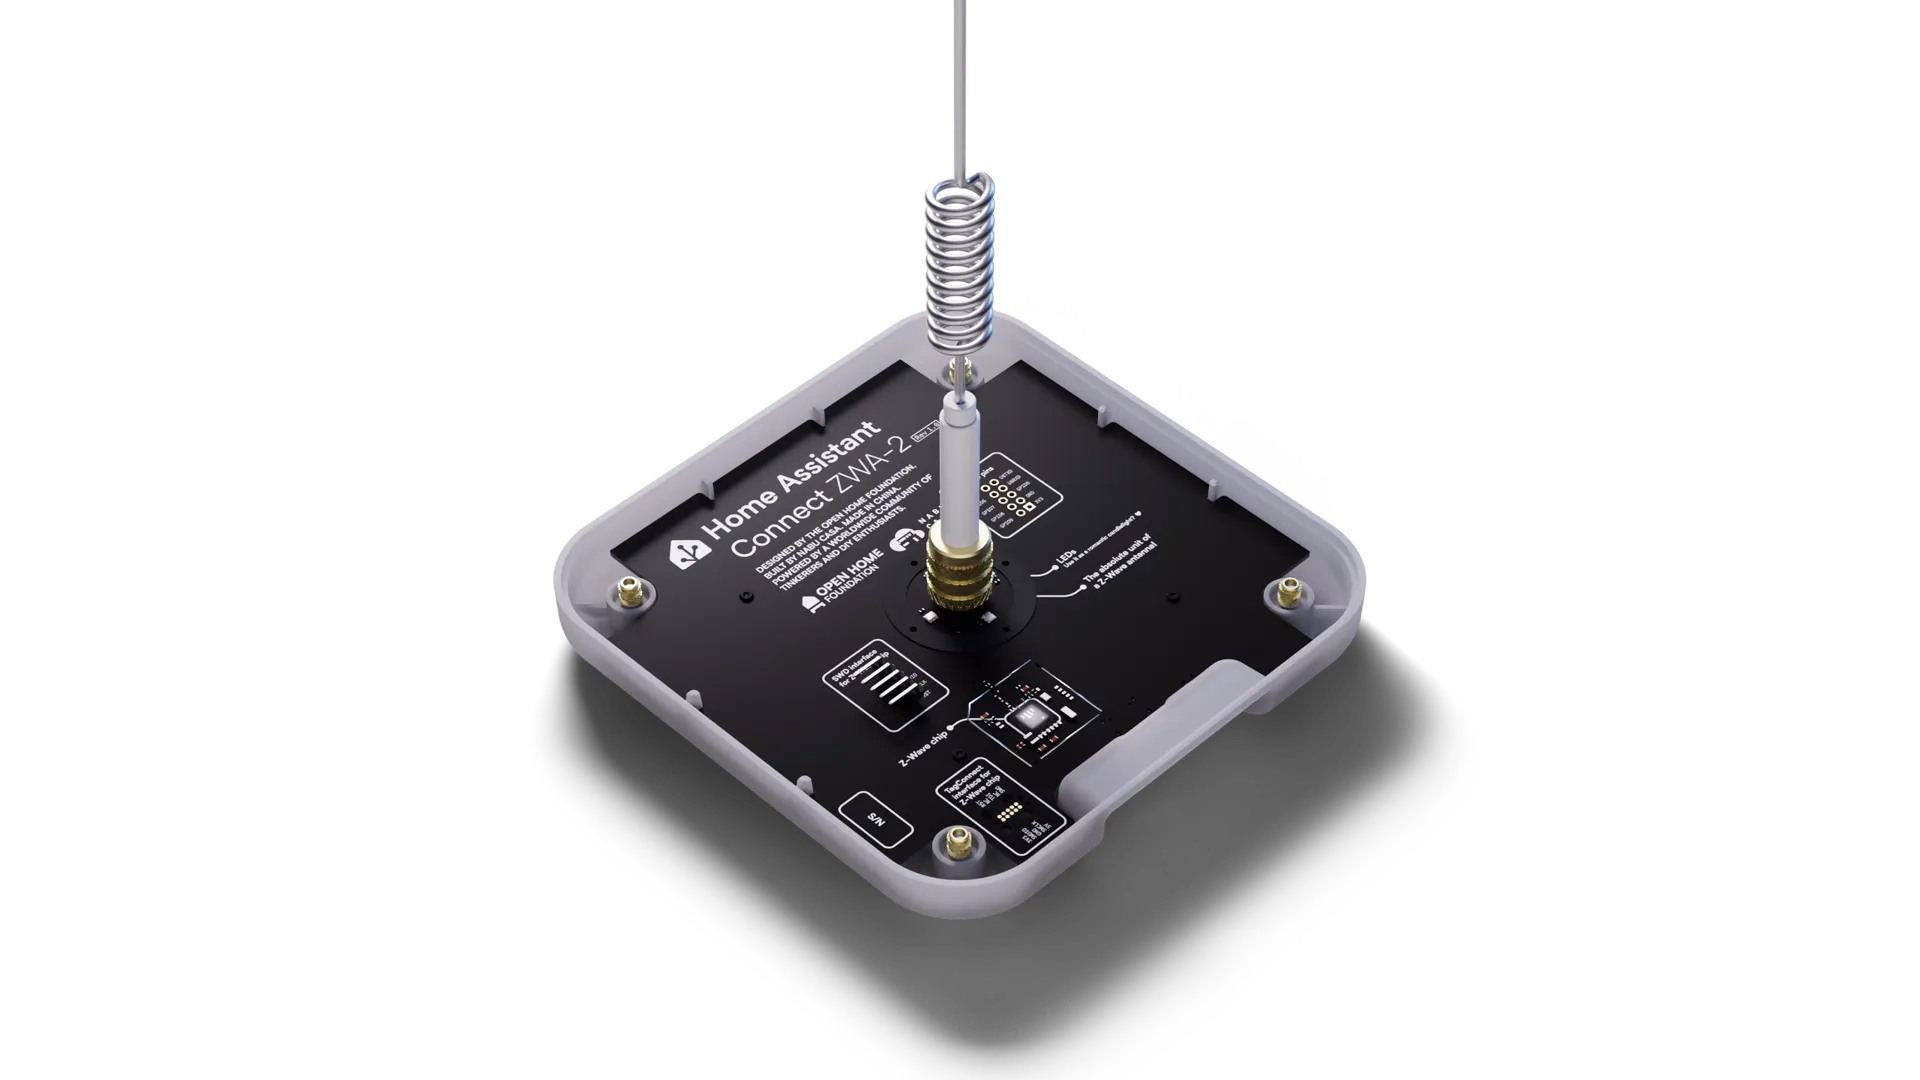
Home Assistant
Home Assistant is another powerful way to connect Z-Wave devices to Apple HomeKit. It can manage a Z-Wave network through the Z-Wave JS integration and then share supported devices with Apple Home through the HomeKit Bridge integration.
This option gives you detailed control over devices and automation. However, it is more difficult for beginners.
You normally need:
- A device running Home Assistant
- A compatible Z-Wave USB adapter
- The Z-Wave JS integration
- The HomeKit Bridge integration
- Time to configure and maintain the system
If you're interested in Shelly HomeKit, you can find our guide on How to add SHelly Devices to Apple HomeKit.
How to Add Z-Wave Devices to HomeKit Using the ATH Bridge
The ATH Bridge is our preferred method because the main Homebridge system is already prepared. You only need to connect the server, install the correct plugin, and pair it with Apple Home.
- Insert the pre-flashed SD card into the ATH Bridge.
- Connect the ATH Bridge to your router and turn it on.
- Find the ATH Bridge IP address in your router settings.
- Enter the IP address in your web browser to open the ATH Bridge dashboard.
- Log in using admin as the username and password.
- Install and configure the correct Z-Wave plugin for your compatible hub or controller.
- Open the Apple Home app.
- Tap + > Add Accessory.
- Scan the HomeKit QR code shown on the ATH Bridge dashboard.
- Your supported Z-Wave devices should then appear in Apple Home.
Why Don’t Z-Wave Devices Work with HomeKit Natively?
Z-Wave accessories communicate through the Z-Wave wireless protocol. Apple HomeKit uses its own supported communication methods and does not provide a built-in Z-Wave radio.
This means an ordinary Z-Wave accessory cannot send information directly to your iPhone, Apple TV, or HomePod.
A bridge is needed to translate information between the two systems.
The connection works like this:
- The Z-Wave device communicates with its Z-Wave controller.
- The controller or plugin sends the device information to the ATH Bridge.
- The ATH Bridge presents the supported accessory to Apple HomeKit.
- Apple Home lets you control it through the home app or Siri.
This setup gives you an Apple Home Z-Wave experience without replacing every existing Z-Wave accessory.
Which Z-Wave HomeKit Method Should You Choose?
The best method depends on the system you already own.
Choose the ATH Bridge if:
- You already have a compatible Z-Wave hub or controller
- You want a prepared Homebridge server
- You do not want to install Homebridge manually
- You want a simple web-based dashboard
- You have other non-HomeKit devices to connect
- You are a beginner
- You prefer local network operation
- You want to use Apple Home and Siri
For most beginners with an existing Z-Wave setup, we recommend the ATH Bridge.
Choose Thinka for Z-Wave if:
You want a dedicated Thinka Z-Wave hub
- You are building a new Z-Wave network
- You want a controller with built-in HomeKit support
- You want features such as Smart Start and provisioning
- You do not mind paying for a dedicated Z-Wave product
Choose Homebridge if:
- You want to build the server yourself
- You already own suitable computer hardware
- You are comfortable installing and maintaining software
- You understand plugins and configuration settings
Visit the HomeBridge website.
Final Thoughts about Z-Wave HomeKit Integration
Z-Wave devices do not normally connect directly to Apple HomeKit, but you do not need to replace your complete smart home system.
A suitable Z-Wave hub HomeKit setup can bring supported accessories into the Apple Home app. Once connected, you can control them from one place, use Siri, create scenes, and build useful automations.
For users who already have a compatible Z-Wave controller, the ATH Bridge is our recommended option. It gives you a pre-configured HomeBridge server, a simple dashboard, local network operation, and support for a wide range of plugins. It is easier than installing and maintaining a complete HomeBridge system yourself.
Thinka for Z-Wave is a useful alternative if you want a dedicated Z-Wave controller. HomeBridge and Home Assistant are also strong options, but they require more technical work.
Before choosing a method, check the compatibility of your Z-Wave hub, accessories, and plugin. This small step will help you create a smoother and more reliable Z-Wave Apple HomeKit connection.
FAQs About Z-Wave HomeKit
Choose Thinka if you want a dedicated Z-Wave controller. Choose the ATH Bridge if you want a flexible Homebridge solution for Z-Wave and other smart home systems.

Amanda Jones
A digital marketer with 2+ years in IT, specializes in smart home tech and HomeKit integration. I like shares tips and to help users add incompatible devices, making smart home setups seamlessly.