James Matthews
3 years of experience in smart home & HomeKit I want to share knowledge with anyone struggling to add incompatible devices to HomeKit. Experienced with many workarounds, write about the best methods.
Adding Any Roborock Robot Vacuum to Apple HomeKit
Roborock, known for its efficient robot vacuums, may not natively integrate with HomeKit. I have been using the Roborock Robot Vacuum for a few months now. And the incompatibility was the one thing that bothered me. So, I researched and tried out some workarounds that would help me add Roborock to HomeKit, which is when I stumbled upon the ATH Bridge, a Homebridge-based plug-and-play solution.
Adding Roborock HomeKit Using ATH Bridge
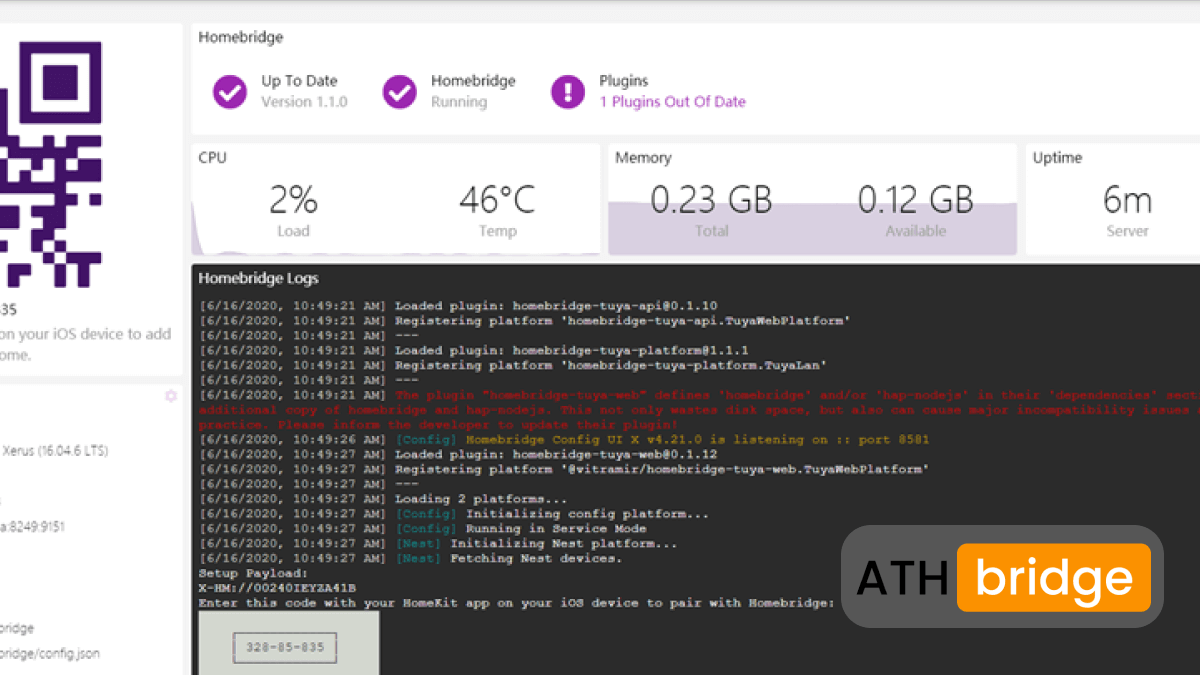
ATH Bridge is a plug-and-play system with a pre-installed HomeBridge hub. You should consider this item because it is reasonably priced and fits into your budget. It is pre-flashed and specifically compiled for the HomeBridge server; all you need to do is download and set up the plugins.
Here are some of the benefits of using the ATH Bridge:
- Seamless integration with Apple HomeKit
- Easy to set up
- Affordable
- Plug and Play solution
Step Guide for Adding Roborock Apple HomeKit Using ATH Bridge
Prerequisites:
- Roborock robot vacuum
- ATH Bridge device
- Stable Wi-Fi connection
- Unboxing and Powering on the ATH Bridge: You have to ensure that the ATH Bridge device is powered on. The indicator light should show that it is in operation.
- Connect Athom Bridge to Your Home Network: Connect the ATHBridge to your home network. Ensure there's a stable internet connectionYou can use either Wi-Fi or an Ethernet cable (I used Wi-Fi) to connect the ATH Bridge to your router. A stable netwrok connection is essential for a smooth operation..
- Access the ATH Bridge Interface: Open your browser and enter the IP address of your ATH Bridge device. This enables access to its interface.
- In the ATH Bridge interface, navigate to Plugins or Add-ons section.
- Search for the roborock-homebridge plugin and proceed to install it..
- Follow the plugin's instrutions for configuring the Roborock by providing the necessary details.
- Once it has been configured successfully your Roborock will be added to your ATH Bridge ecosystem.
- Open the Apple Home app on your iOS device.
- Tap on the + or Add Accessory button to start the process of adding your Roborock.
- Choose the option for manually adding a device, typically labeled Don't Have a Code or Can't Scan?
- Look for Roborock in the list of available devices and select it.
- Follow the on-screen instructions to add your Roborock to Apple HomeKit.
Read more: Add Any Wyze Smart Devices to HomeKit with ATH Bridge
How to Set Up Roborock Siri Shortcuts
While HomeKit doesn't officially support robot vacuums as a category, you can use Siri shortcuts to control your Roborock robot vacuums. This method allows you to control your Roborock using voice commands with Siri. Although I have to warn you first, having Siri shortcuts for Roborock does come with a few limitations, such as not supporting all the features available in the Roborock app. This is possible with a Roborock HomeKit!
My Favourite Aspects of Adding Roborock to the Apple Home App
By integrating your Roborock smart vacuum with HomeKit using ATH Bridge, you unlock a world of convenient control. Here's what you can do with this integration:
- Ability to control Roborock Remote with Siri: After the Roborock HomeKit integration I was able to control my Robot vacuum using Siri. Access its functionalities remotely through my phone even when I was away from home. Which was an amazing addition for me. For an example: I always make sure to get the vacuum running when returning home from a long vacation.
- Locating Roborock: Being able to use voice commands to locate my Roborock when it is out of charge or in an unexpected location, saves a lot of time and energy for me. Literally just saying, "Hey Siri, Roborock S6, where are you?" will let you know where the Roborock is.
- Enhanced Navigation and Safety: Robot vacuums simetimes struggle to recognize stairs and other elevated surfaces, posing a risk of falls. I have had a Roborock fall off the stairs, but with the Roborock Home Kit integration I was able to create a customized map for the vacuum making sure that is avoids the stairs and high places.
- Cleaning Scheduling: I also was able to create a cleaning schedule for the Robot vacuum with the HomeKit integration. Additionally, I was able to send the robot directly to specific spots where spills or tracked-in dust and require immediate attention.
- Power and Setting Control: Adjusting the power and other settings of the vacuum cleaner is possible with the integration. Depending n the Roborock model, programming specific vacuum settings based on different areas of the home.
Apart from this, if you’re interested in the Aqara devices, explore How to Add Aqara Smart Devices to Apple HomeKit
Roborock Matter Integration
Roborock does support the Matter protocol, and they have been actively rolling out firmware updates to enable it on their robot vacuum cleaners. Here’s the full rundown on the Roborock models that will support HomeKit Roborock integration:
- S8 MaxV Ultra
- Saros Z70
- Saros 10
- Saros 10R
- Qrevo Curv
- Qrevo Edge
- Qrevo Master
Conclusion
In conclusion, integrating your Roborock robot vacuum with Apple HomeKit using ATH Bridge is a game-changer for your smart home. It provides you with the convenience of voice commands, automation, and seamless integration into your Apple smart home ecosystem. Say goodbye to manual vacuuming and hello to a cleaner, more efficient, and more convenient living environment. With Roborock and HomeKit, you'll experience the magic of a smarter home.


